These examples show how CNC projects can progress from testing and prototype work to repeated parts. Wood to Spec is operated by JLTG Designs Ltd. Wood to Spec is a new dedicated service, so the photographs shown here are internal workshop demonstrations or work produced through the earlier CNC offering rather than Wood to Spec customer testimonials.
Each example is labelled by production stage. The purpose is to make the work understandable, not to turn one photograph into a promise about every material, design or future project.
Settings and fit tests
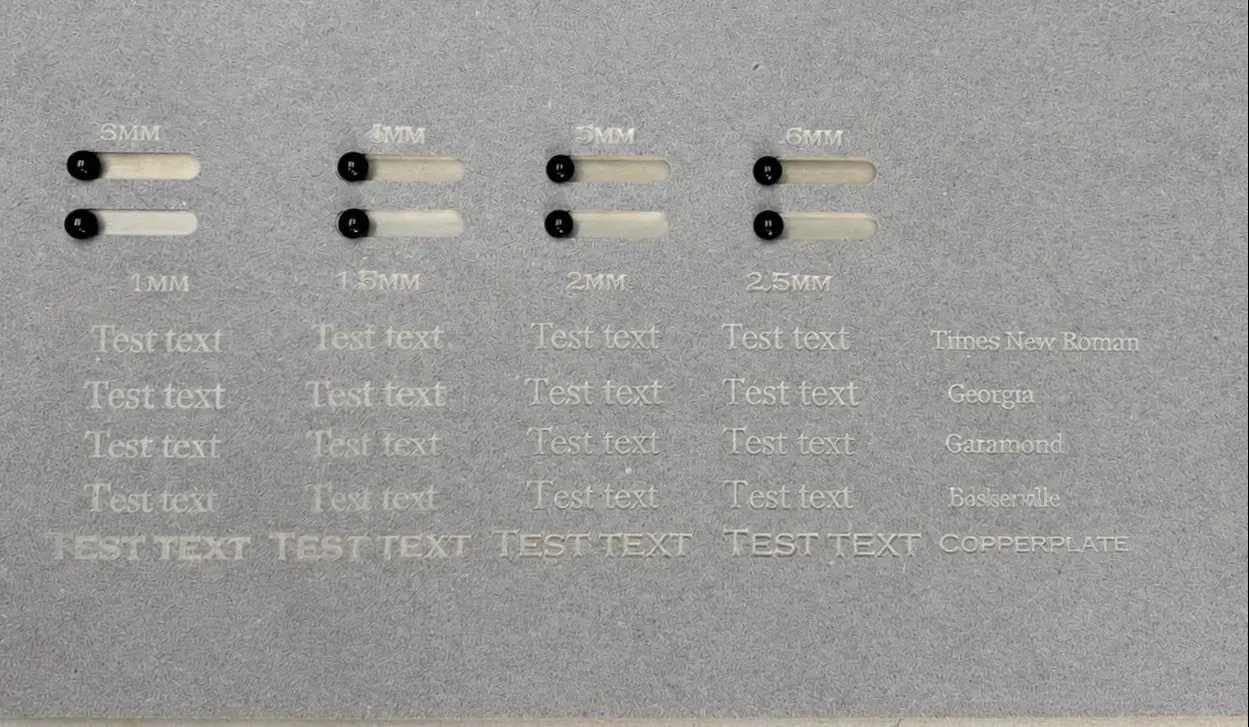
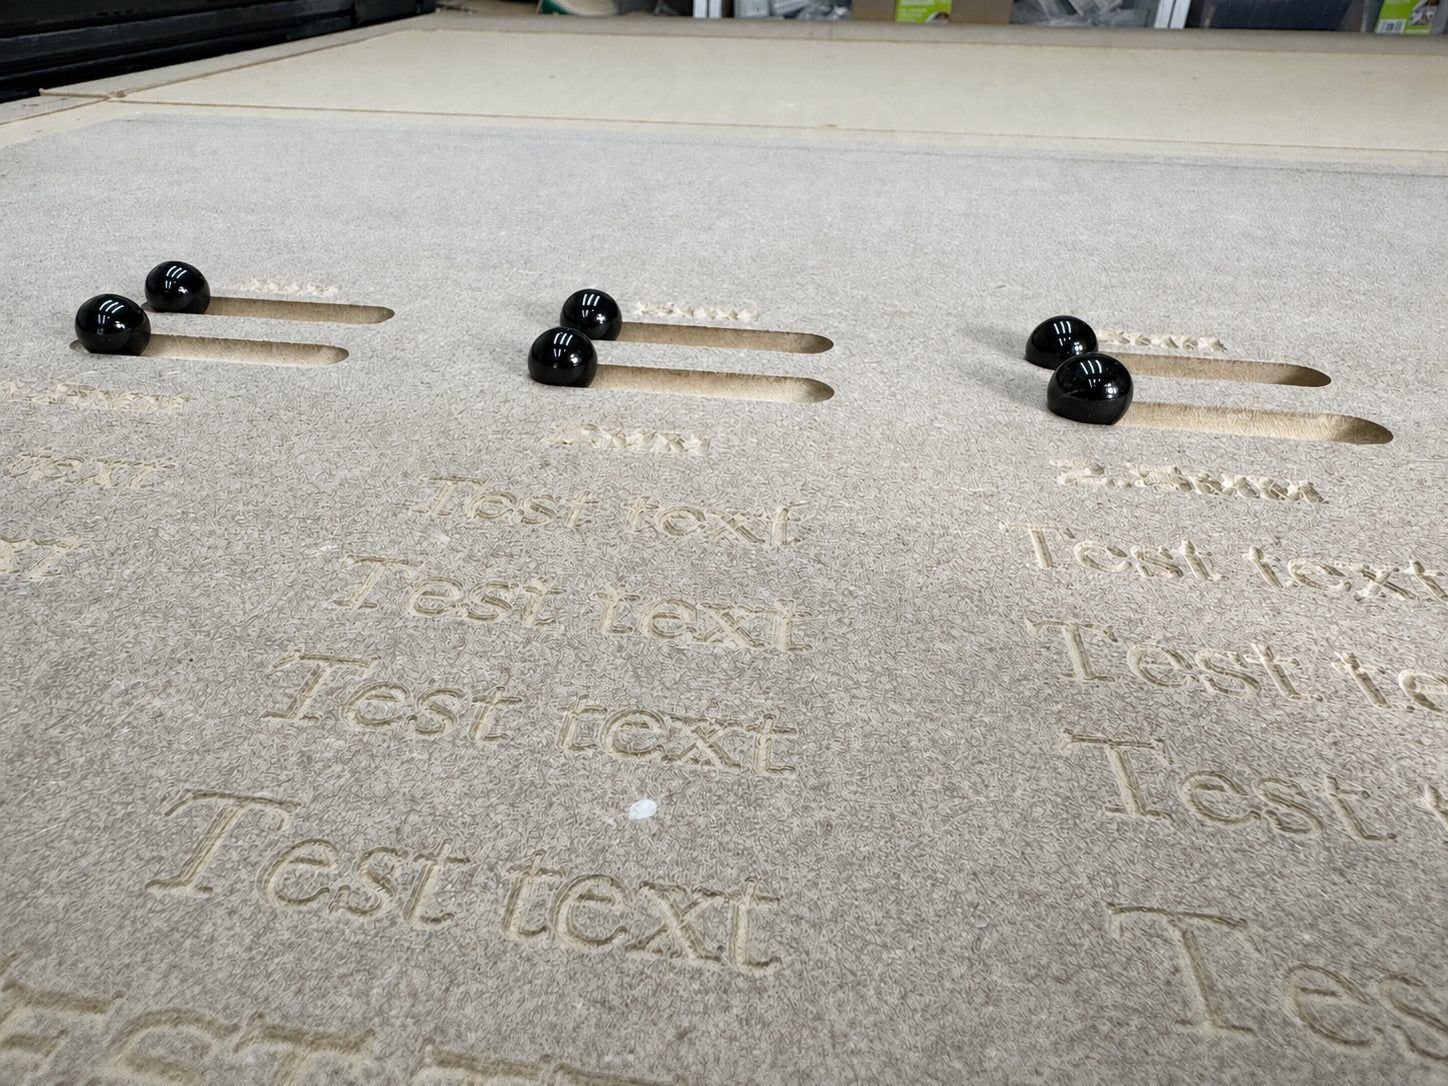
A settings board brings several small questions together on a real piece of material. The available workshop example contains routed slots, sample text and different engraved details. Black playing pieces are placed in selected slots so their relationship to the cut can be seen.
This kind of test can help compare options before a complete part is machined. It is specific to the material, cutter, file and setup used for that test; it is not a universal tolerance table.
Prototype stage
The solitaire example includes a full-size MDF version held on the CNC bed. It shows the overall circular layout, routed channel and pattern of playing-piece pockets together for the first time. A full-size version is useful when several features need to be considered in context rather than as isolated samples.
The photograph records a prototype stage. It does not show an assembled retail product, a packaged order or a customer acceptance result.
Repeated sheet layout
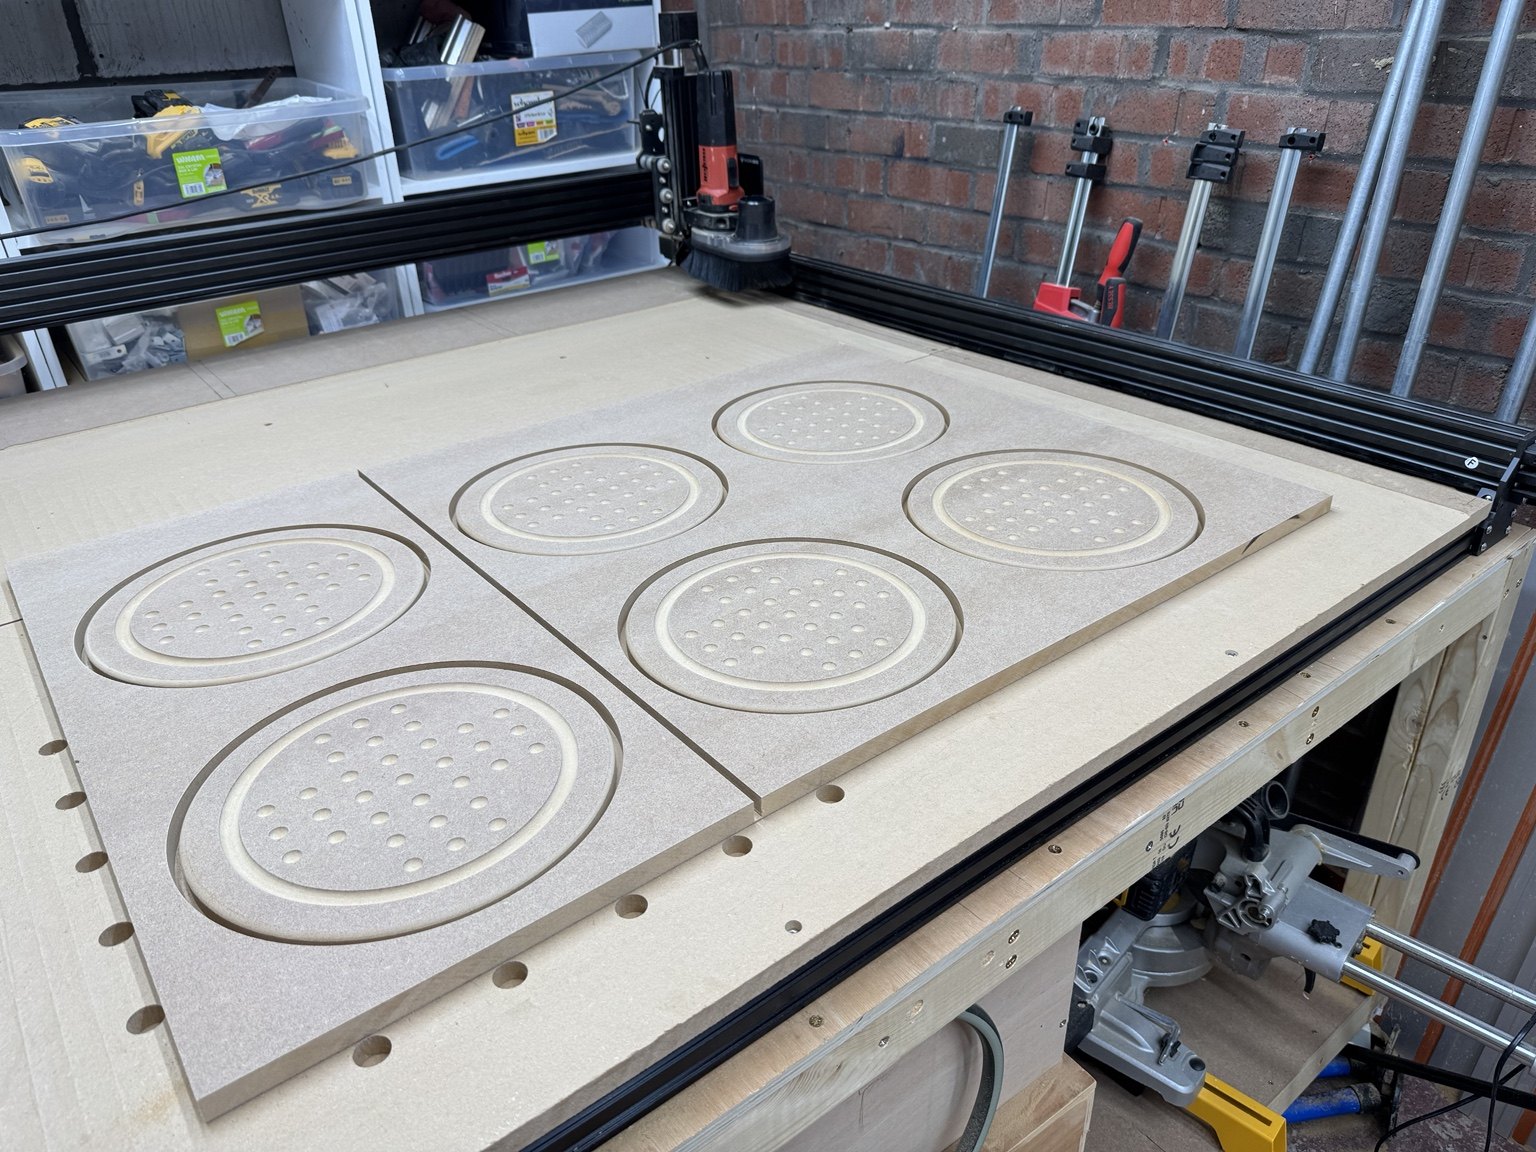
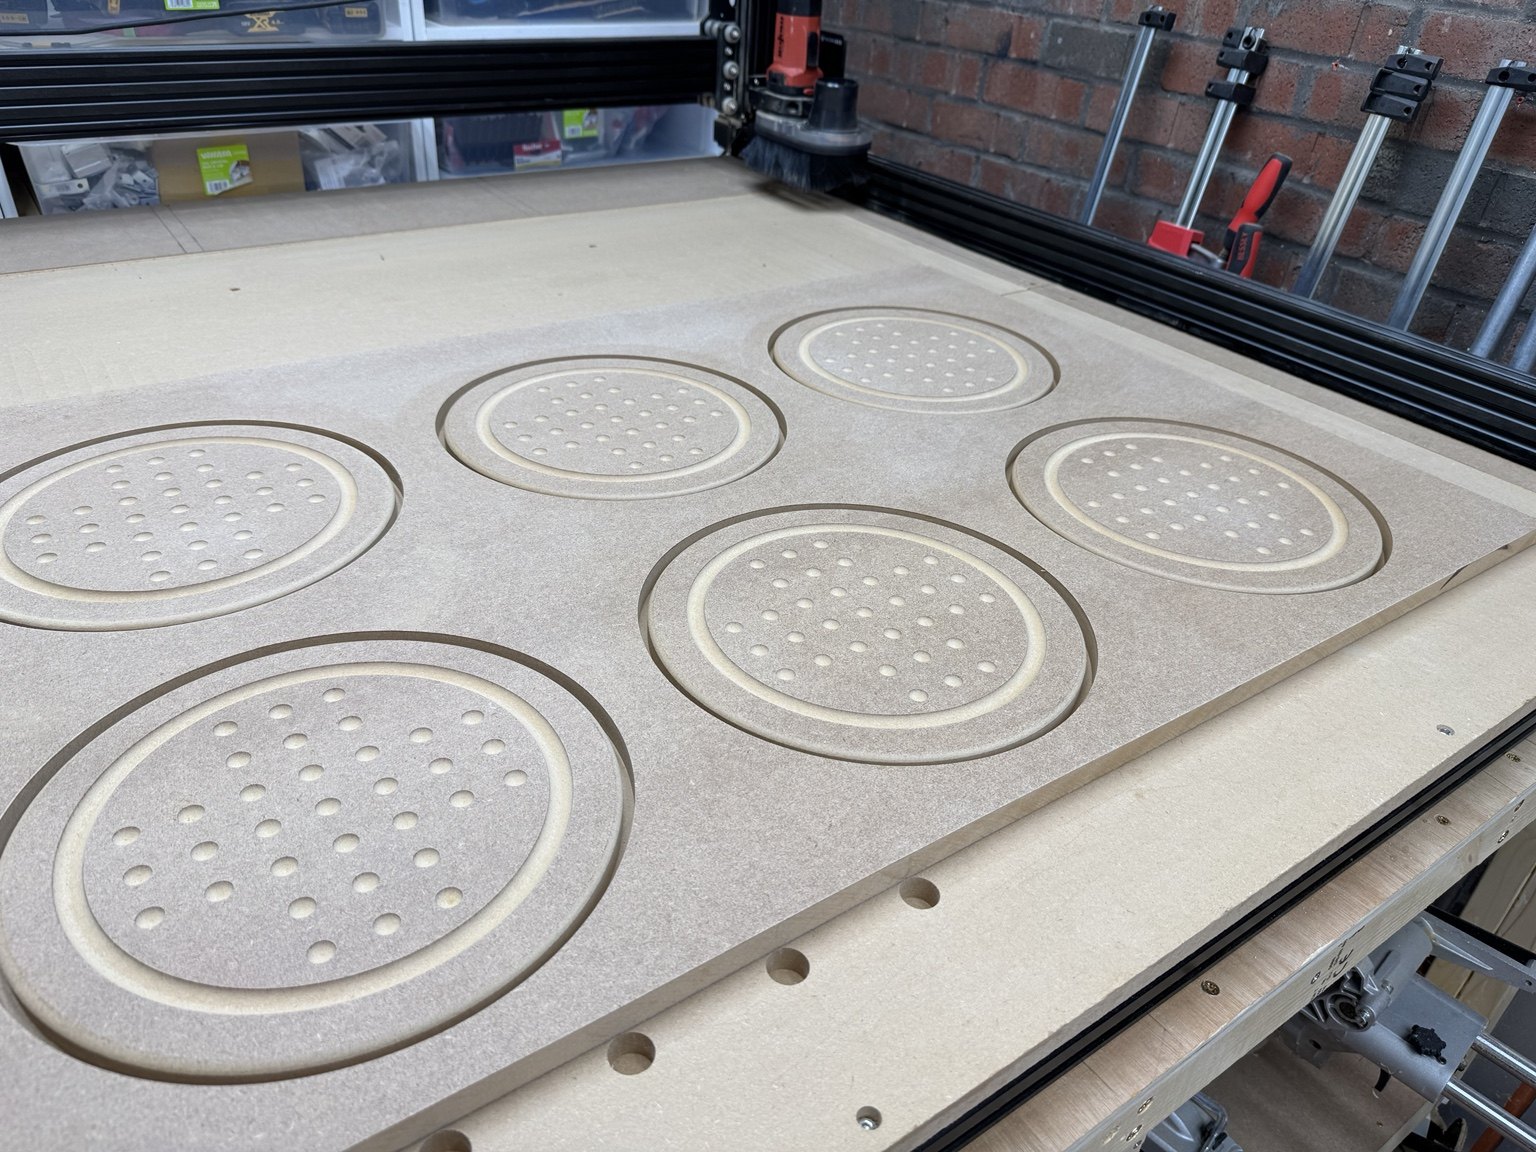
A wider workshop photograph shows six circular solitaire-board components machined across two pieces of sheet material. The repeated outlines, channels and pocket patterns are visible before the individual components are fully separated from the surrounding stock.
This is a repeated sheet layout example. It demonstrates how the same visible geometry was arranged and machined more than once in that workshop run. It does not establish a production rate, yield figure or promised batch capacity.
Parts after separation
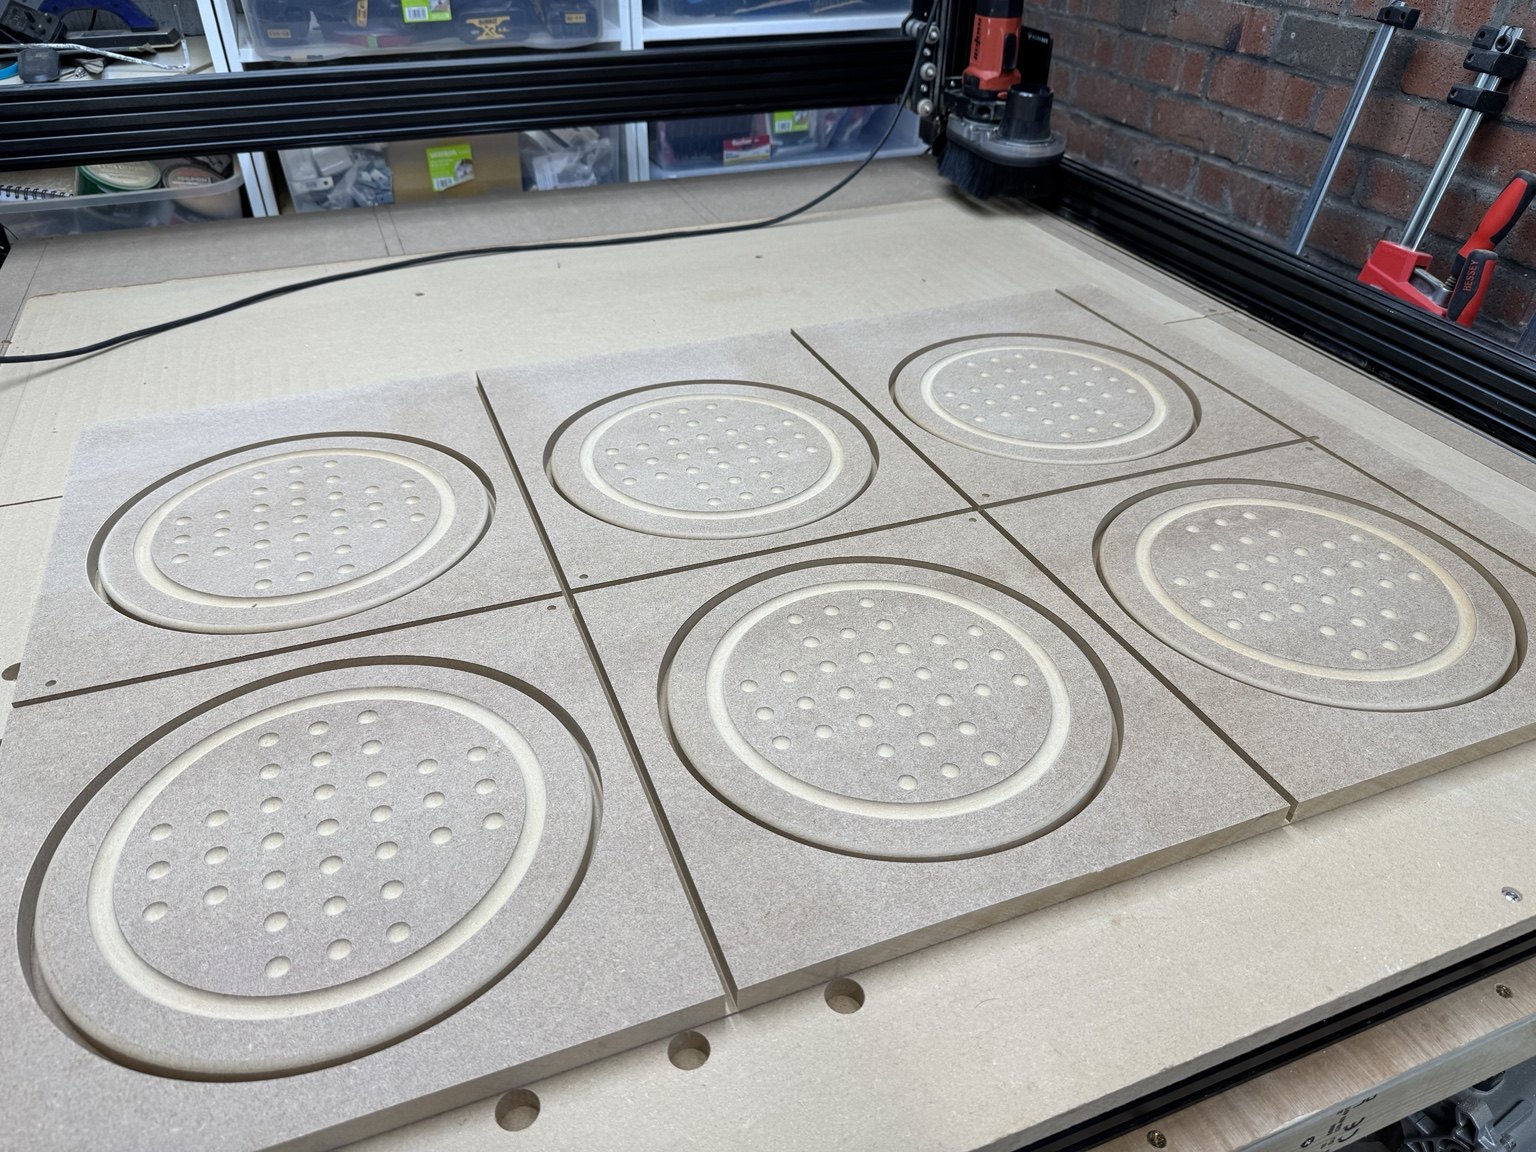
The next photograph shows the six machined board components divided into separate rectangular sections on the CNC bed. Their circular profiles, channels and pocket patterns remain visible while the pieces are still at a workshop stage.
The correct label is parts after separation, not finished products. Further profile removal, edge work, personalisation, finishing, inspection or packing may still be required depending on the agreed project scope.
Completed CNC stage
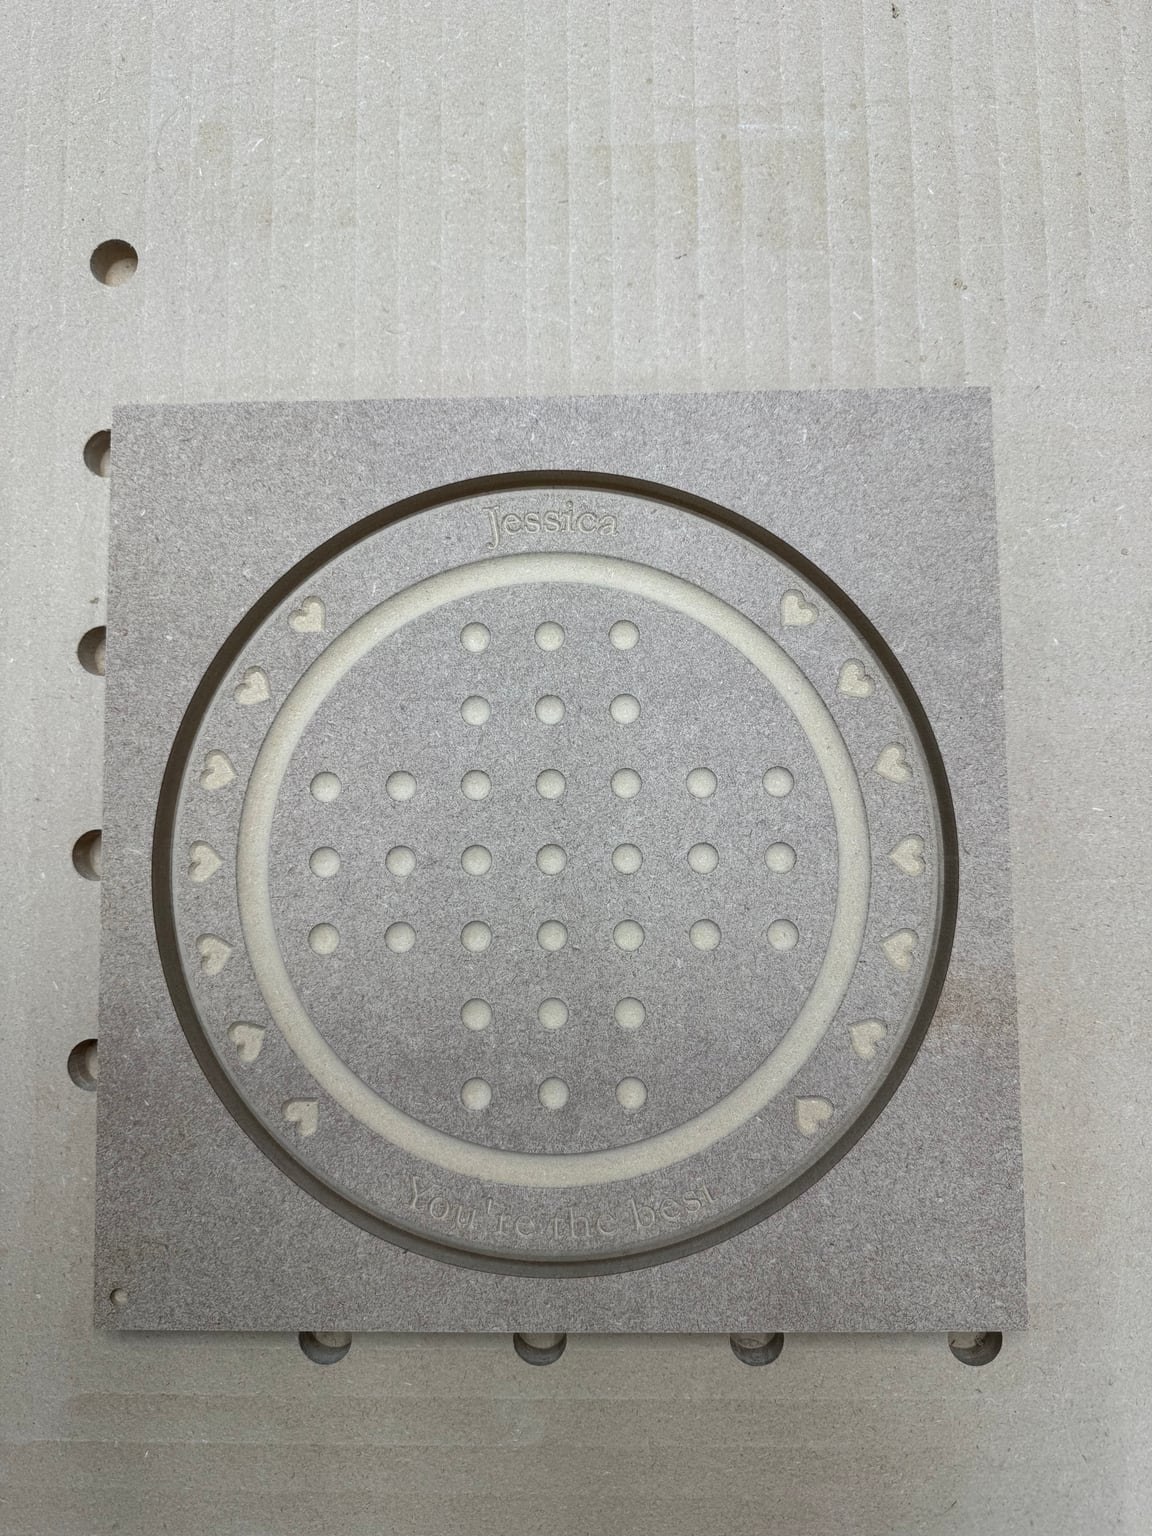
The final solitaire image shows one circular board removed from the surrounding sheet, with playing-piece pockets, a routed channel, heart details and engraved wording visible. It is an internal workshop demonstration of the completed CNC stage shown in the photograph.
It should not be read as a customer review or as evidence that assembly, coating, retail packaging, dispatch or product-market success formed part of the work. Those outcomes are outside what the image records.
What to take from these examples
The useful lesson is the sequence. A small sample can answer a narrow question. A full-size prototype can bring interacting features together. A repeated layout can then show how approved geometry was arranged across a sheet. Separating those stages makes it easier to decide how much testing a new project needs.
A new design may use different material, thickness, cutters, mating parts or finishing processes. Those differences can change the appropriate test. When fit, appearance or assembly is important, describe the critical feature in the enquiry so that a proportionate settings sample or prototype can be considered.
Using the examples for your enquiry
You do not need to know the correct workshop terminology. Explain what the part must do and where a mistake would matter most. Useful information includes:
- the overall size and intended material;
- the item that must fit into a slot, pocket or opening;
- the face that will be visible;
- any text or small detail that must remain readable;
- whether one prototype or repeated parts are required;
- which later stages you intend to complete yourself.
For a technical enquiry, include the controlled drawing or file revision, nominal dimensions, machining intent and a clear pass condition for any critical feature. The review can then focus on the uncertainty in your design rather than copying assumptions from an earlier example.
Current example
Follow the solitaire workshop demonstration to see the settings test, full-size prototype, repeated layout, separated parts and personalised CNC stage in order. For help choosing between a small test and a complete prototype, read test cuts and prototypes before a batch.
Next step
Send the part, sketch or uncertainty you want reviewed. The quotation will define the material, machining and any agreed post-machining work for your project.